
Nail extensions remain one of the most requested services in nail salons. If you want to learn them, you will soon come across two routes: gel extensions built on forms and extensions with full cover tips. Both methods give a beautiful, longer nail, but they differ in the process, the time involved and how much of the shape you build yourself. The comparison below will help you choose your first step.
The shared basics of both methods
Both LearnBeauty courses start the same way: preparing the workspace, tools and products, then preparing the cuticles, by hand and with an electric file, and preparing the natural nail. This part is the foundation of good retention. If cuticle, oil or dust stays on the nail plate, the product can start to lift early, whichever method you use. Read more in our article Why well-prepared cuticles matter.
Both processes finish with colour, top coat and care products. Both courses include a client record card and a document with tips, contraindications and guidance on appropriate sterilisation of tools.
Gel extensions with forms
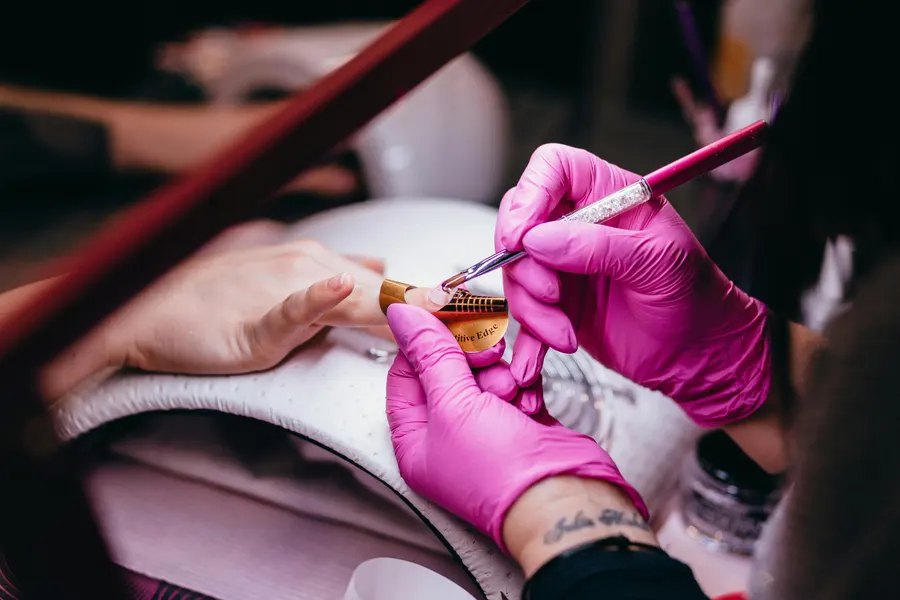
With this method you place a form under the free edge of the natural nail and build the extension on it with gel. You create the length, shape and structure of the nail yourself, so the form needs to sit snugly against the free edge and in line with the nail. Once the gel is cured in the lamp, you remove the form and file the nail into the shape you want; the Gel Nail Extensions with Forms course shows an almond shape.
The method gives you a lot of freedom over length and shape and lets you adapt each nail individually. It does take more practice, though: an even gel thickness, symmetry across all ten nails and precise filing. Expect the service to take longer at first, until you get a feel for the right amount of gel.
Extensions with full cover tips
Full cover tips are pre-shaped extensions that cover the whole nail plate. The key step is choosing the right size for each nail: the tip should cover the nail from one side wall to the other without pressing on the skin or leaving gaps. After preparing the natural nail, you apply the necessary products and fit the tips according to the manufacturer's instructions, then shorten, file and buff them. The whole process is shown in the Full Cover Tip Nail Extensions course.
Because the shape of the extension is already set, the nails become even more quickly, and the process is often more predictable for beginners. There is less room for special shapes and adjustments, so choosing and preparing the tips accurately matters all the more.
Safety and advice for your client
Before the service, ask the client about any sensitivity to nail products and check the nails and the surrounding skin. Do not apply extensions to inflamed, damaged or irritated nails or skin; if you notice a change you are unsure about, advise the client to see a doctor. While you work, make sure uncured gel does not come into contact with the skin, and use the lamp the manufacturer recommends for your products.
Explain to the client that she should not pick or remove the extensions herself, as this can damage the natural nail, and that she should come back for an infill on time, usually every three to four weeks depending on nail growth. Suggest gloves for household chores and regular cuticle oil at home.
How to choose
Finish the sentence: "After the course, I want to offer my clients …" If you want full control over shape and length and you are drawn to classic salon extensions, start with gel on forms. If you want a quicker, even result and a more predictable start, full cover tips are a good choice. And if your clients mainly want stronger natural nails without extra length, read our article BIAB: what is it and who is it for? and take a look at the BIAB – Builder in a Bottle course.
You don't have to choose just one method: nail preparation is the same for both, so a second course later will mostly expand what you already know. If you are thinking about broader skills, from nails to makeup and lashes, take a look at the Complete Beauty Pro bundle, which includes all 17 LearnBeauty courses.
Connect theory with practice.
The LearnBeauty classroom gives you video demonstrations and materials you can follow at your own pace.
Browse courses